English | MP4 | AVC 1280×720 | AAC 48KHz 2ch | 1h 15m | 220 MB
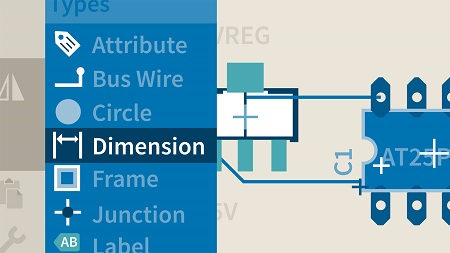
As products get smarter—and as the Internet of Things (IoT) becomes more a part of everyday life—electronic components are more commonplace in product design and prototyping. In this course, learn how to prepare electronic schematics for fabrication as printed circuit boards (PCBs) using the EAGLE PCB layout software from Autodesk. Instructor Taylor Hokanson shows how to design a circuit in schematic view and translate it to a physical PCB design. He also shows how to prepare the board for manufacturing by examining your design for errors and warnings.
Topics include:
- What is EAGLE?
- Developing a board layout
- Adding in routing
- Working with datasheets
- Creating symbols and pins
- Creating a device
- Adding custom imagery
- Checking designs for errors
- Generating data and uploading to a manufacturer
Table of Contents
Introduction
1 What is EAGLE
2 A note on the exercise files
Get Started with PCBs
3 Manufacturing options
4 Download and first-time setup
5 Control panel
Your First Board
6 Annotation severed notice
7 Package types to use
8 Download your libraries
9 Add in parts
10 Incorporate names and values
11 Develop the board layout
12 Add in routing
Custom Components
13 Create your own library
14 Work with datasheets
15 Create footprints Pads
16 Create footprints Hidden markings
17 Create footprints Visible markings
18 Create symbols and pins
19 Create a device
20 Place a custom device
21 Connect a custom device
22 Incorporate custom outlines
23 Add custom imagery
Manufacturing
24 Electric rule checking (ERC)
25 Design rule checking (DRC)
26 Generate data and upload to manufacturer
Conclusion
27 What’s next
Resolve the captcha to access the links!