English | MP4 | AVC 1280×720 | AAC 48KHz 2ch | 3h 13m | 630 MB
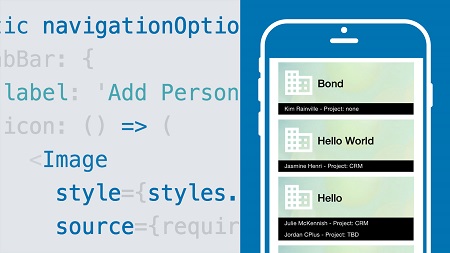
React Native lets web developers apply their skills to native apps for iOS and Android. In this course, Emmanuel Henri shows how to take a design spec created in a previous course—Prototype a CRM Mobile App with Framer—and convert it into a real CRM application, with a clean interface, smooth performance, and natural cross-platform adaptability. Learn how to set up a project, establish a strong folder structure, work with Redux, add several views, use CRUD operations, and more. Upon wrapping up this course, you’ll have a solid understanding of how to work with this framework to build polished mobile apps.
Topics include:
- Initializing React Native projects
- Installing material kit and vector icons
- Setting up Redux
- Creating a list view, a detail view, and a menu
- Adding new components
- Using the React Native debugger
- Coding the scroll on detail view
Table of Contents
Introduction
1 Build a CRM using React Native
2 What you should know
Project Setup and Back End
3 Initialize React Native project
4 Project folder structure
5 Install material kit and vector icons
6 Node and Express back-end setup
Redux and Main Views
7 Get started with Redux
8 React Native debugger
9 Create people list view
10 Code the people item view
11 Finalize people item view
12 Add new components
13 Create tab menu
Complex Component
14 Set up Redux for detail view
15 Initial setup detail view
16 Code the scroll on detail view
17 Add more items in detail view
18 Finalize detail view
19 Test and debug
CRUD Operations
20 Create the new add person form
21 Complete functions for add person view
22 Add person redux reducers
23 Add person redux actions
24 Finalize add person and test
25 Connect list view to back end
26 CRUD – Remove a client
27 CRUD – Set up editing
28 CRUD – Finalize redux for editing
Company View and Final Touches
29 Code the company list query
30 Create company list view
31 Final touches
Conclusion
32 Next steps
Resolve the captcha to access the links!